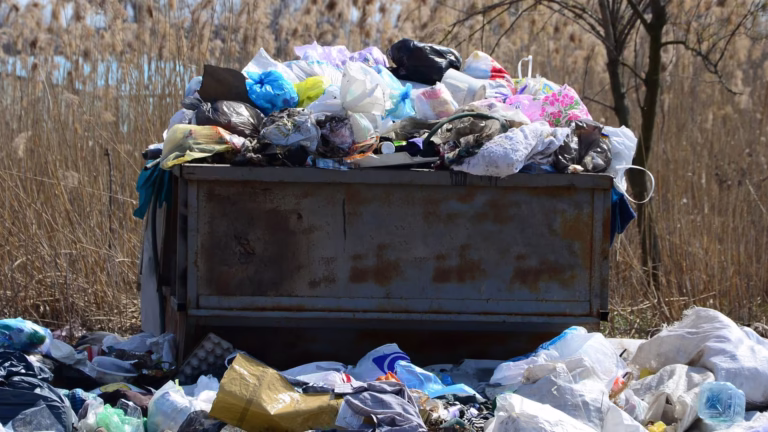
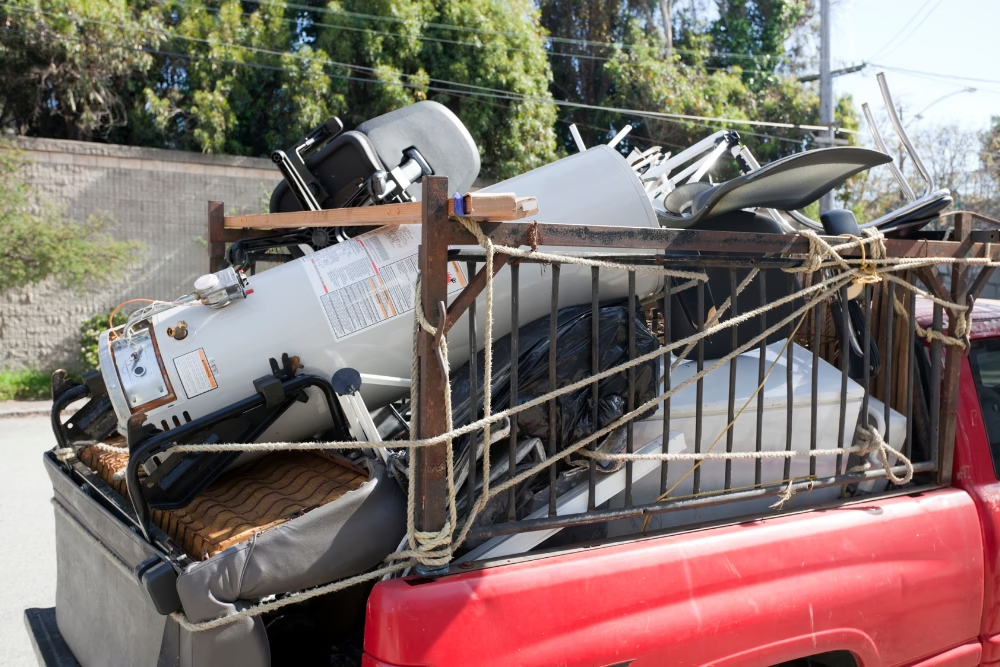
Urban areas often face challenges with accumulating waste and clutter, which can impact both the appearance and safety of neighborhoods. Junk Removal Near Me provides an accessible and efficient way for residents to address these issues by removing unwanted items from homes, streets, and public spaces. Regular junk removal prevents debris from piling up, reducing fire hazards, pest infestations, and obstacles that can interfere with daily activities. Communities benefit from cleaner streets, improved sanitation, and enhanced public health as clutter is consistently managed. By encouraging responsible disposal practices, Junk Removal Near Me not only keeps urban spaces organized but also fosters a sense of pride and accountability among residents, creating safer and more attractive neighborhoods for everyone.
Enhancing Neighborhood Cleanliness
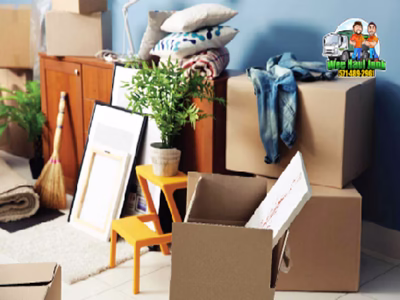
Junk Removal Near Me services help urban communities maintain cleaner streets and residential areas. By removing unwanted furniture, appliances, and other clutter, these services reduce unsightly piles of waste that can accumulate in alleyways and yards. Cleaner surroundings improve the aesthetic appeal of neighborhoods and make public spaces more inviting for residents and visitors.
Routine junk removal also prevents the buildup of hazardous debris that could pose safety risks. With regular participation in these services, communities experience improved organization and reduced pollution, reinforcing responsible disposal habits and promoting a culture of cleanliness throughout urban areas.
Supporting Environmental Responsibility
By providing proper waste handling, Junk Removal Near Me contributes to environmental sustainability in cities. Collected items are often sorted for recycling, reuse, or safe disposal, ensuring that hazardous materials do not contaminate soil or water. Households become more conscious of their environmental footprint as they observe organized methods of disposal. Properly managing urban waste reduces landfill pressure and promotes long-term ecological balance. Communities gain a clearer understanding of sustainable living practices, encouraging residents to adopt habits like sorting and minimizing unnecessary waste. This approach ensures that urban growth aligns with environmentally responsible behavior.
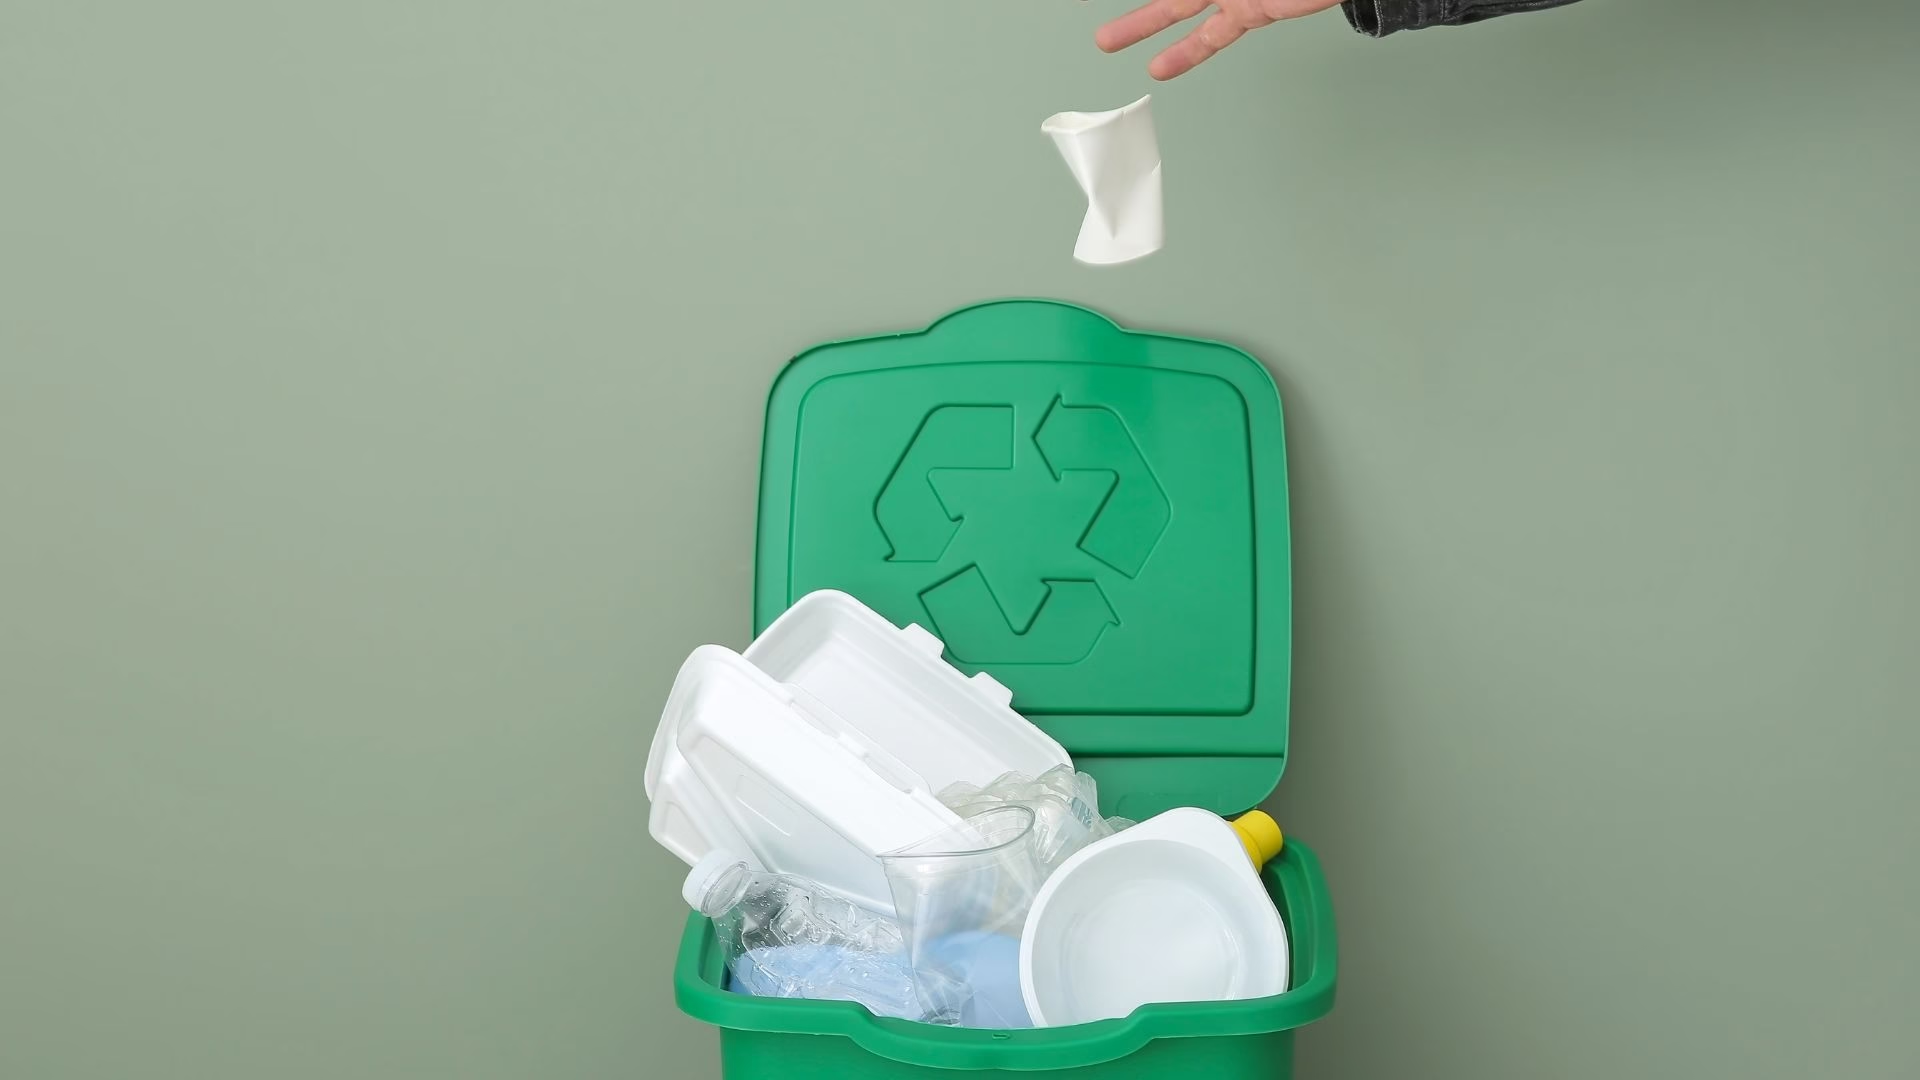
Encouraging Recycling Habits
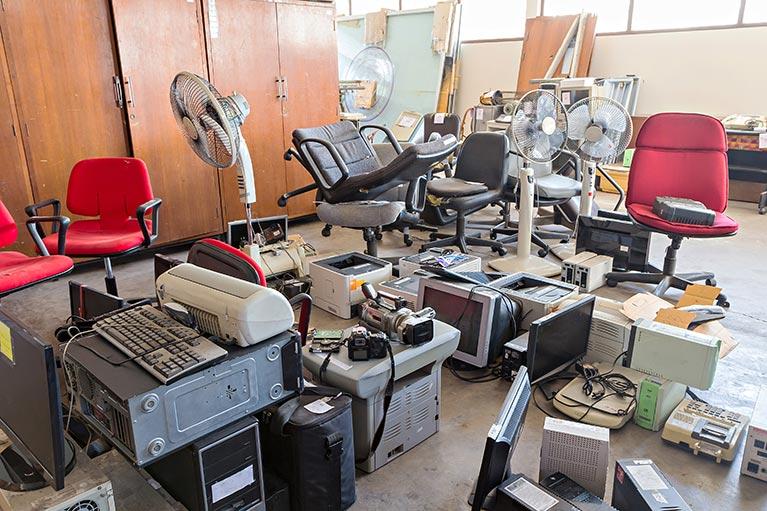
Junk Removal Near Me promotes recycling by ensuring items like plastics, metals, and paper are sorted correctly. This reduces landfill usage, conserves resources, and inspires households to adopt environmentally responsible habits that support long-term urban sustainability and cleaner city spaces.
Safe Hazardous Waste Management
Proper handling of hazardous materials prevents soil and water contamination. Junk Removal Near Me ensures safe disposal of chemicals, batteries, and electronics, protecting ecosystems and public health while fostering responsible urban waste management practices across communities.
Reducing Urban Landfill Pressure
By diverting reusable and recyclable items from landfills, Junk Removal Near Me eases the burden on municipal waste systems. Efficient removal of clutter helps reduce pollution, conserve resources, and support a cleaner, more sustainable urban environment.
Promoting Minimal Environmental Impact
Using professional junk removal services helps households reduce their ecological footprint. Junk Removal Near Me encourages proper disposal and recycling, preventing excessive waste accumulation and supporting sustainable urban living for both current and future generations.
Raising Community Awareness
Junk Removal Near Me educates residents on eco-conscious waste practices. Increased awareness inspires responsible disposal, recycling, and reduction of unnecessary items, fostering a community-wide culture of environmental responsibility that benefits urban areas and supports sustainable development.
Reducing Fire and Safety Hazards
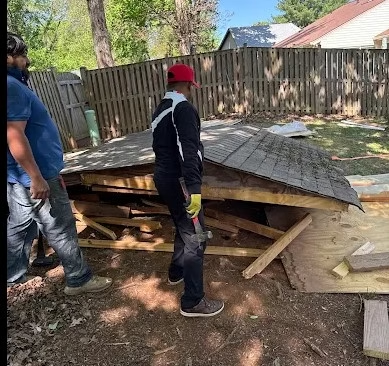
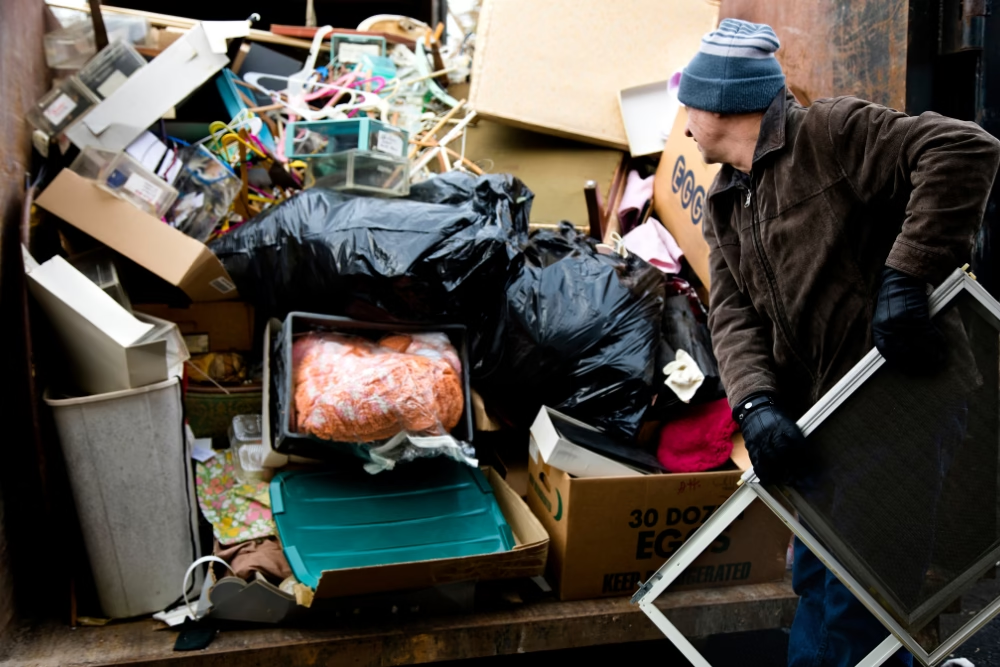
Accumulated urban junk can pose serious safety concerns, from blocked fire exits to flammable piles of debris. Junk Removal Near Me services help mitigate these risks by promptly removing clutter that could obstruct pathways or attract pests. Safe disposal of bulky and hazardous materials ensures that public and private spaces remain free of potential dangers. Residents and city officials benefit from decreased accidents and enhanced safety in both indoor and outdoor areas. By prioritizing systematic junk removal, communities not only protect their infrastructure but also ensure that public health and safety remain a central focus.

Improving Public Health Conditions
Excess waste in urban environments can lead to unpleasant odors, pest infestations, and the spread of bacteria or disease. Junk Removal Near Me services reduce these health risks by removing items that could harbor rodents, insects, or mold. Regular removal of clutter improves air quality and creates a healthier atmosphere for families, workers, and visitors. By ensuring proper disposal and sanitation, these services help maintain a clean environment that supports physical and mental well-being. Residents benefit from a more organized space while cities experience fewer health complaints, demonstrating the connection between responsible waste management and public wellness.
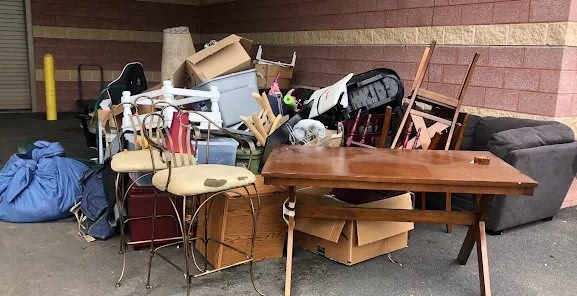
Enhancing Property Value and Appeal
Urban properties with accumulated clutter often suffer from diminished appearance and value. Junk Removal Near Me helps homeowners and landlords maintain visually appealing and organized spaces. Clean surroundings make properties more attractive to potential buyers or renters, improving overall market value. By keeping streets and yards clutter-free, neighborhoods maintain a sense of pride and professionalism that benefits the entire community. Regular junk removal encourages residents to adopt long-term organizational habits, ensuring that properties remain tidy and appealing. In turn, urban areas develop reputations as well-kept, desirable locations for living and business.
Encouraging Community Participation
Access to Junk Removal Near Me encourages residents to participate in shared cleanup efforts, fostering community engagement. When individuals collectively take part in decluttering streets, parks, and public spaces, neighborhoods experience stronger social cohesion. Community-wide participation promotes awareness of proper waste disposal and environmental responsibility, inspiring ongoing commitment to organized living spaces. These collaborative efforts also motivate residents to keep their surroundings clean between professional services. By supporting organized junk removal, urban communities create a culture where shared responsibility for cleanliness and safety becomes the norm, improving quality of life for everyone in the area.
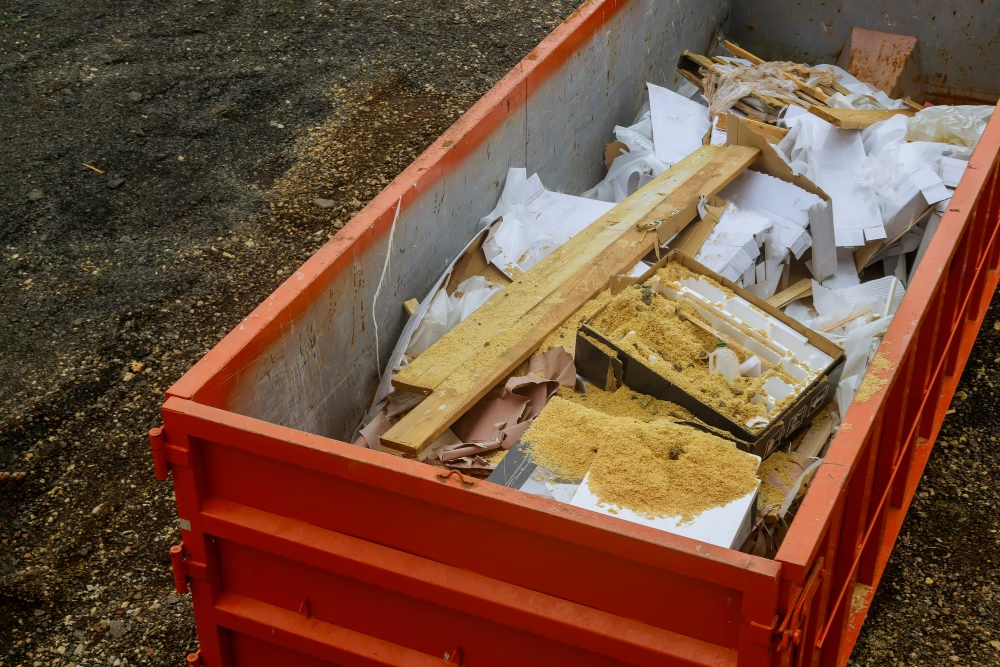
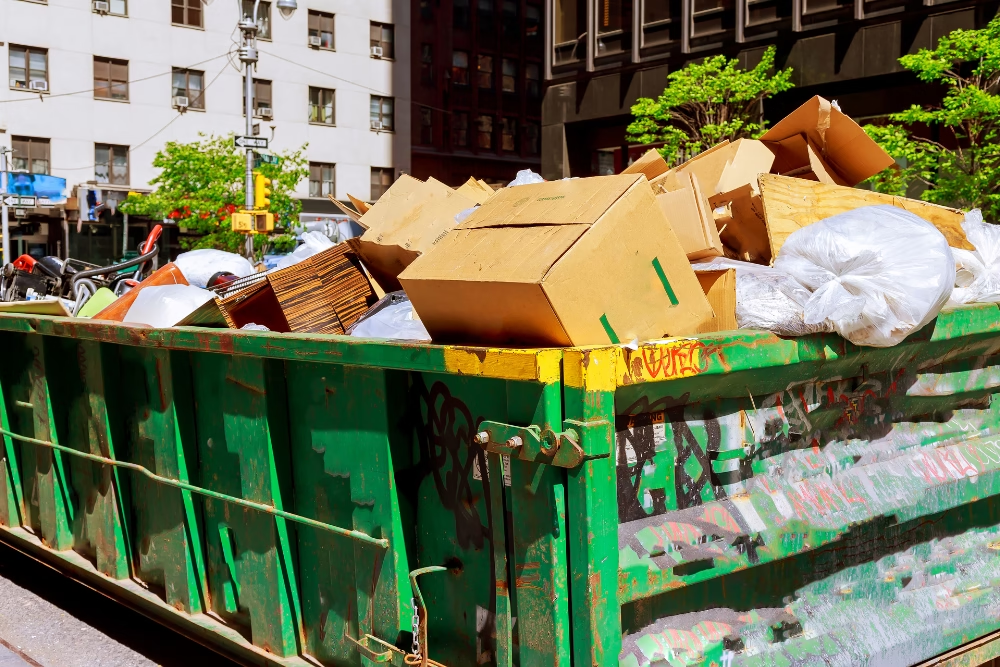
Streamlining Urban Waste Management
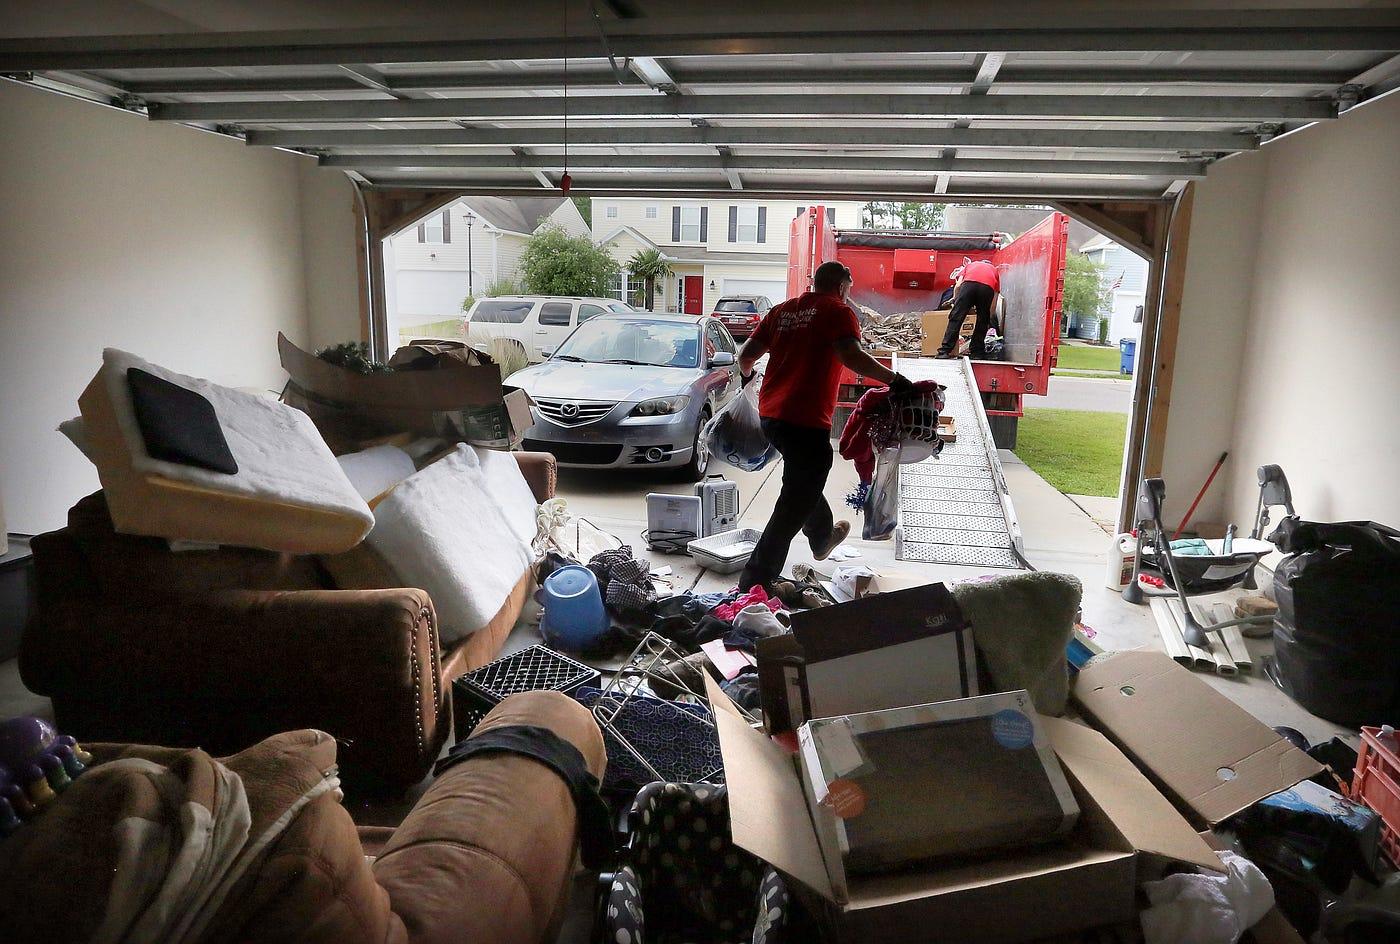
Junk Removal Near Me simplifies the process of handling large and bulky waste items that cannot be processed through regular municipal collection. Coordinated junk removal reduces the burden on city waste management systems and prevents illegal dumping in streets, parks, or vacant lots. Efficient removal of clutter improves traffic flow and access to public spaces, contributing to overall urban organization. By outsourcing large-scale junk disposal, residents ensure their waste is handled correctly and on time. These services complement city planning efforts, ensuring urban environments remain orderly, navigable, and safe while supporting responsible community practices.
Promoting Long-Term Waste Reduction Habits
Regular use of Junk Removal Near Me encourages individuals and households to adopt long-term habits that minimize urban waste. By understanding the value of disposing of unnecessary items responsibly, residents become more conscious of what they bring into their homes and how they handle leftovers. Communities benefit from reduced clutter over time, creating safer, cleaner, and more organized urban spaces. Repeated engagement with junk removal services fosters a mindset of planning, recycling, and prioritizing essential items, ultimately reducing future waste accumulation and promoting a sustainable approach to city living for generations to come.
Conclusion
Reducing urban waste and clutter is essential for cleaner, safer, and more organized communities. Junk Removal Near Me services, like those provided by Wee Haul Junk Removal & Hauling, make it easy for residents to dispose of unwanted items responsibly. By removing debris efficiently, these services help maintain public health, enhance property appearance, and promote environmentally conscious habits that benefit both neighborhoods and the wider community.
For professional junk removal in Vienna, VA, contact Wee Haul Junk Removal & Hauling at 571-489-2961. Our team ensures safe and reliable hauling services tailored to your needs, keeping your spaces clutter-free and contributing to a cleaner, healthier urban environment.